The three-dimensional Photogrammetry System hl-3dp is used to measure the car body and automatically generate a high-precision three-dimensional coordinate system. Then the 3D information of the mark points on the vehicle body surface is exported to the engineering file for use by the 3D scanning system. Before scanning the whole vehicle, import the engineering files of the vehicle body surface marker points obtained by holon3dp, and then use the 3D scanner hl-3dw to quickly scan the whole vehicle, obtain the high-density 3D point cloud data of the whole vehicle, and carry out the secondary design of the vehicle.
Practical problem
1. It is necessary to carry out rapid three-dimensional measurement on the whole vehicle to obtain the three-dimensional digital model, but the curved surface of the whole vehicle is many and complex, and the global measurement accuracy is required to be controlled within 0.1mm.
2. For the measurement efficiency proposed by the Automotive Engineering Research Institute, the traditional gantry CMM is not only expensive, but also time-consuming. Obviously, such a measurement method can not be accepted by customers.

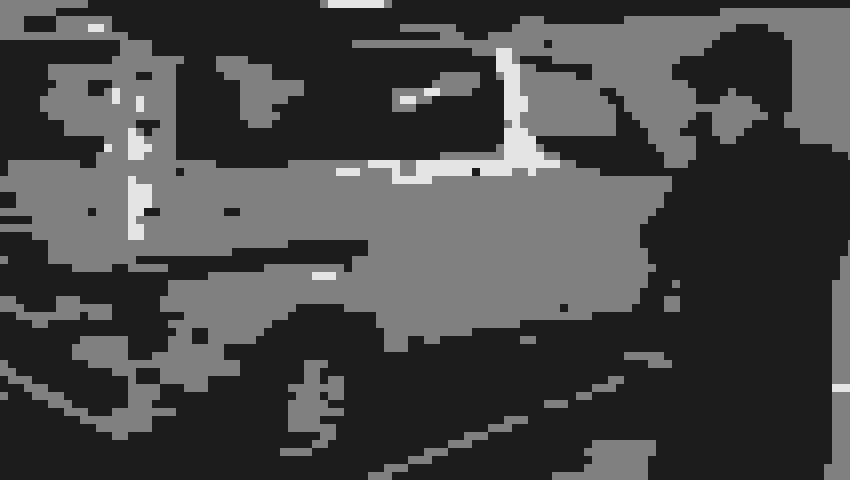
Vehicle scanning site
Holon solutions
The whole vehicle scanning site aims at the problems faced by customers. In the solution proposed by Hualang 3D engineers, the three-dimensional Photogrammetry System hl-3dp+ three-dimensional scanner hl-3dw is used to obtain the three-dimensional data of the car body and carry out the secondary design of the car body.
1. Preliminary preparation
Spray developer: improve the surface background color contrast of the sample to obtain better scanning data.
Labeling: make the acquired data be positioned and spliced in the scanning software.
Paste code point: enable the 3D photogrammetry system to obtain the 3D coordinate value of the object surface.
2. 3D Photogrammetry
Obtain the 3D coordinates of the body surface. The body design must not only conform to the streamline, but also take into account the smooth air flow of the chassis. The scanned car shape is 5.0m long and 2.5m wide. Hualang engineers first use the three-dimensional Photogrammetry System (hl-3dp) to capture multiple images of the car body. Through the three-dimensional ranging method, the holon3dp software automatically combines these images. After calculation, the 3D coordinates of the center of each coding point can be obtained, and the 3D coordinates of the key information points on the object surface can be calculated.
3. 3D scanning
Import the 3D coordinate data of the body surface into the holon3ds scanning system, and use the 3D scanner hl-3dw to quickly obtain high-precision 3D data of the racing car body. The three-dimensional scanner has the characteristics of large scanning format, portable design, extremely fast scanning speed, high precision and high stability. Using the cooperation of three-dimensional Photogrammetry System (hl-3dp) and three-dimensional scanner (hl-3dw) can correct the point cloud information of large-area surface, greatly improve the overall point cloud splicing accuracy of the three-dimensional scanner and improve the work efficiency. It takes only one and a half hours to obtain the body data, with an accuracy of 0.15mm. Compared with other three-dimensional measurement methods, Hualang three-dimensional solution can effectively reduce the measurement time (it can be completed in only 1/3 or less time compared with general laser measurement under the same conditions), greatly improve the work efficiency, reduce the cost, and have higher data quality. In addition, the use of the two devices is not limited by volume and space, and can be moved at any time during measurement. This combined application not only ensures the complete quality of the project, but also saves a lot of time and labor costs for customers.

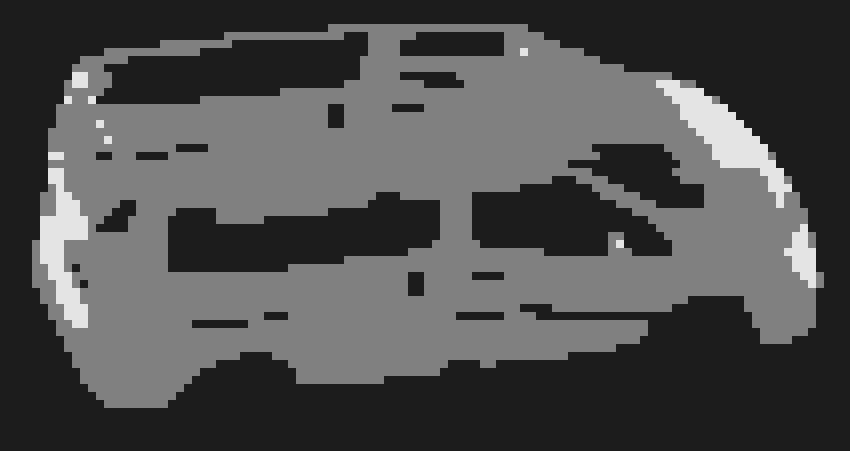
Point cloud data graph