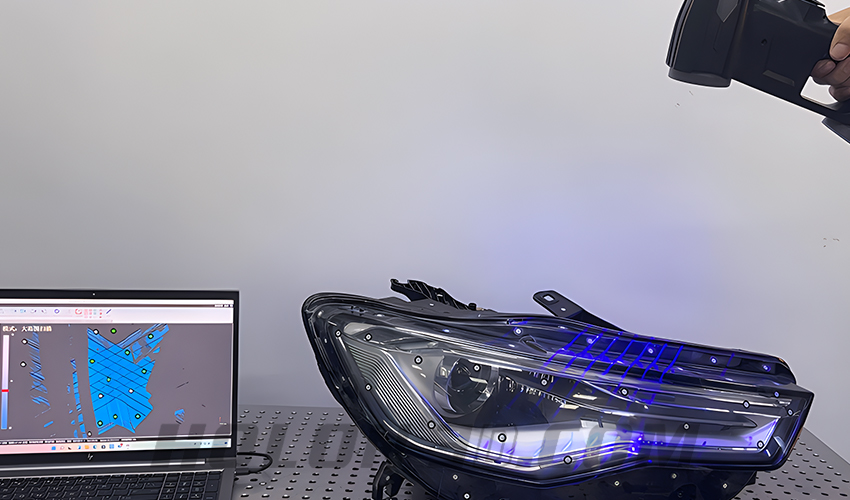
The customer is engaged in the automobile headlamp modification market. Since the lamps are made of plastic materials, they will be deformed to some extent when they are contacted and squeezed with other parts after installation. The customer needs to scan the three-dimensional data of the lamp to simulate the assembly, so as to provide effective data for later lamp modification. Therefore, the accuracy is required to be very high.
Physical drawing of lamp
Practical problems
1. The material of black reflective surface increases the difficulty of data acquisition. When the structured light scanner is used, the black object needs to be sprayed with developer, which affects the data accuracy.
2. Multi material structure is complex, which increases the difficulty of data integration. It is difficult to obtain the data of complex parts such as hole position and clamp position by using traditional detection methods (inspection tools, calipers, three coordinates, etc.).

Physical drawing of lamp

Physical drawing of lamp
Holon solutions
According to the needs of customers, the hand-held three-dimensional scanner A22 is used to scan the car lights, with a scanning area of 600 × 550mm, 650000 measurements / second for rapid data acquisition. Real time acquisition of high-precision three-dimensional data of lamps, rapid data comparison and analysis, acquisition of specific deviation values, and generation of reports.
The application of 3D scanner has covered all aspects of automobile manufacturing, mainly in quality inspection, product development and reverse engineering. Compared with traditional detection equipment, 3D scanner is more efficient, portable, more accurate and more complete!

Lamp STL data diagram

Lamp STL data diagram