A large-scale CNC manufacturing company in Nanjing needs to conduct three-dimensional inspection of large-scale composite molds that have been machined to obtain high-precision three-dimensional data. Hualang engineers use the three-dimensional photogrammetry system HL-3DP to test whether the large-scale composite molds are qualified.
Practical problems
1. Large-scale composite material mold size (about 7 meters in length, about 2 meters in width), large volume, inconvenient to move, different edge contours, and more rhombohedral surface grooves. Traditional measurement tools (such as inspection tools, two-dimensional, three-coordinates, etc.) cannot perform inspection work at all.
2. Due to the large volume of the composite material mold, the traditional three-dimensional scanner is used for different contours, which takes a long time and the data quality is not high, and the error is large, which cannot meet the quality inspection of large molds by customers.
Holon solutions
In view of the large scanning area of the large composite material mold of the enterprise, in order to eliminate the problems of cumulative scanning error and complete splicing, Hualang 3D technical engineers proposed to use in the solution: the three-dimensional photogrammetric system HL-3DP quickly obtains the high-precision three-dimensional data of the large mold+ Reverse design software (converting large-scale mold point cloud data into triangular mesh surface data) + import the design software for post-processing, and obtain the inspection and analysis report.

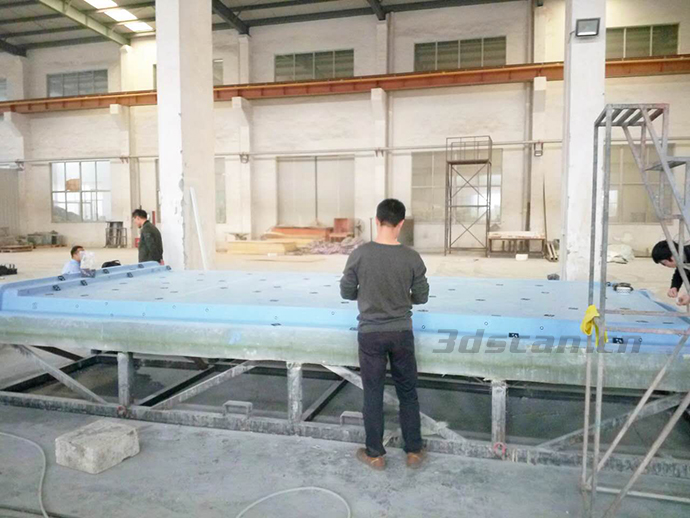
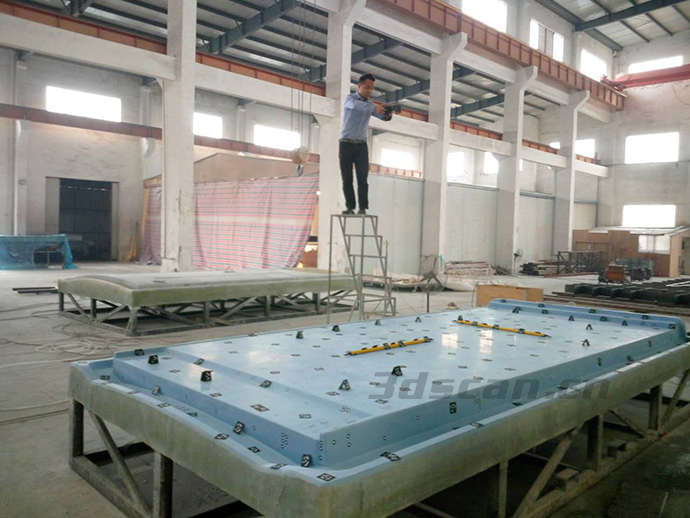
Preparatory work before large mold inspection

Large mold inspection site

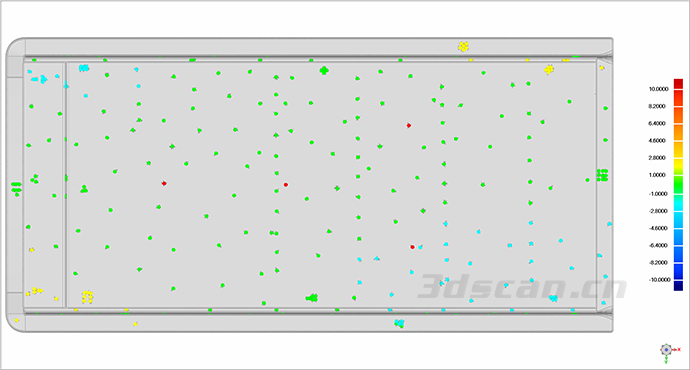
3D data map of large mold

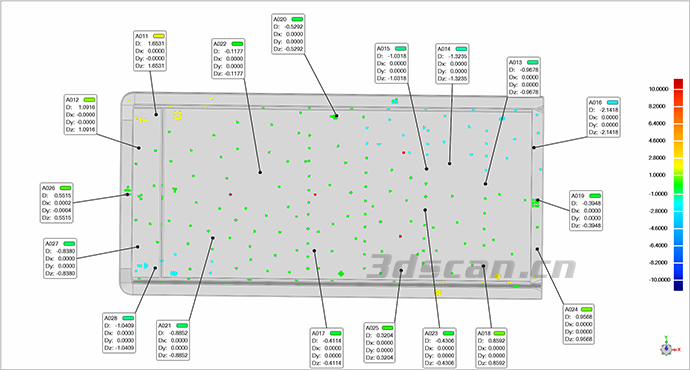
3D data map of large mold